
Onboarding Completion
Every Step Gets You Closer To Your FREE Gift, ...
Exporting Leads
You can learn how to export your leads in this tutorial.
How To Export Your Leads
Objective
This is a step-by-step guide to exporting filtered lead data to your CRM or saving it as a CSV file for further use.
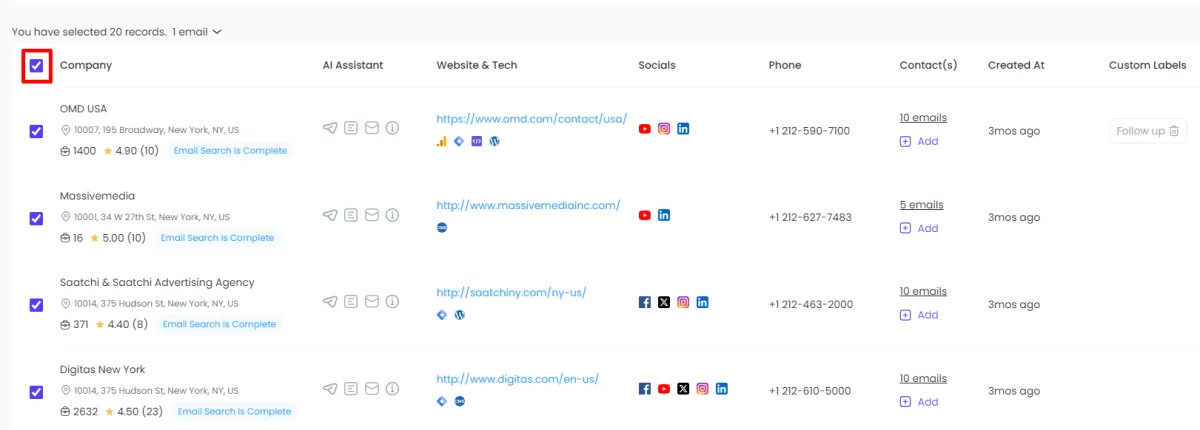
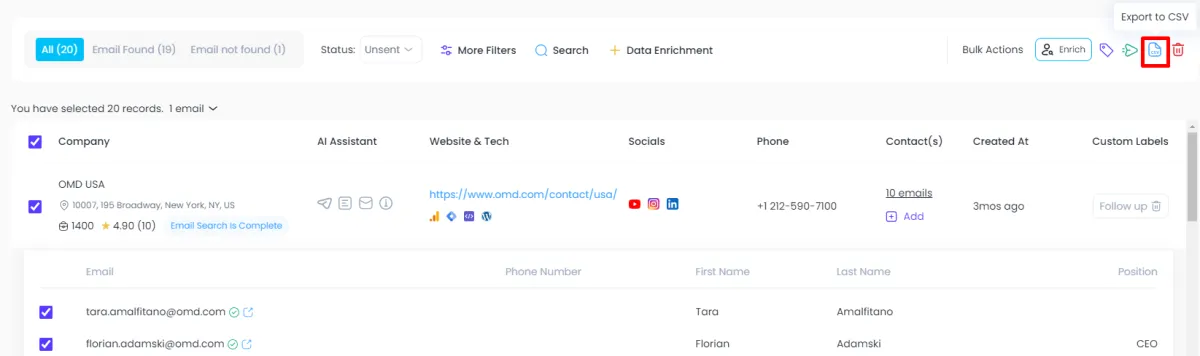
Step 1: Select Records
Filter and review the list of leads.
Use the select button to choose specific records displayed on the page. If you want to select all available records, choose the select all option.
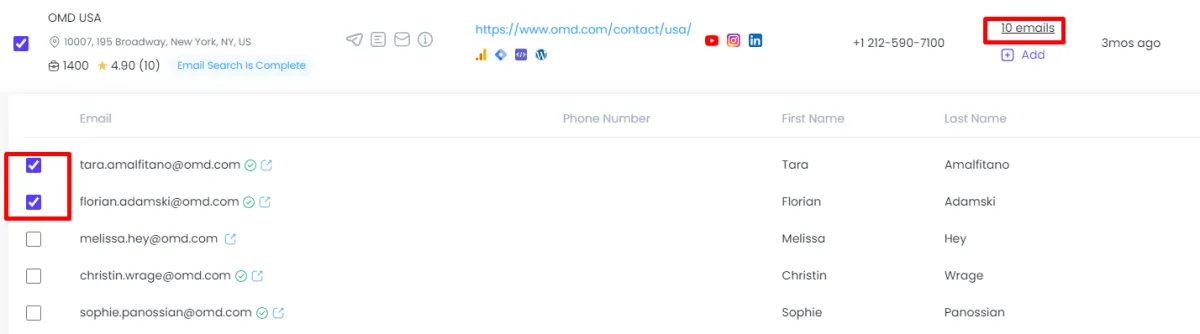
Step 2: Choose Email Preferences
Access the email drop-down menu to specify how many emails to export per company.
Select your desired number of emails (e.g., 1, 2, or more) based on the accounts you have selected.
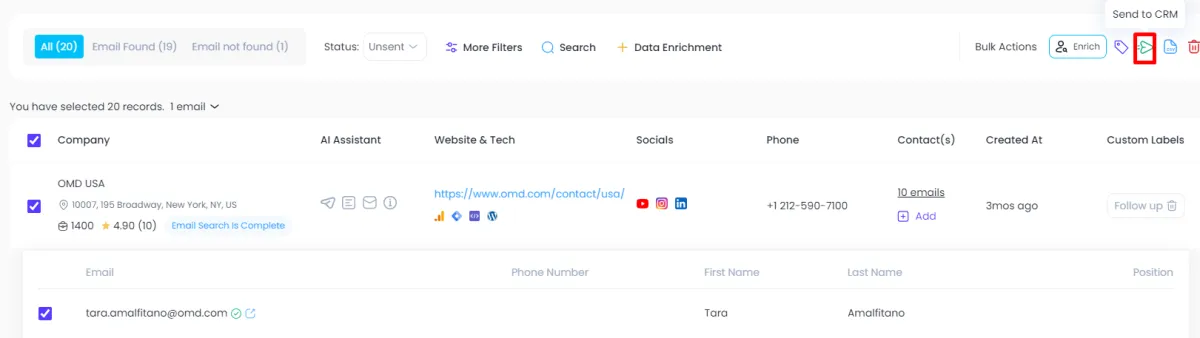
Step 3: Send Data to CRM
After selecting your records and email preferences, locate the Send to CRM option.
Click on it to view the integrated CRM options (e.g., Go High Level, Keep, or others connected via Zapier).
Choose your CRM and proceed to send the selected records directly to it.
Step 4: Export to CSV File
If you prefer to save the data, look for the Export to CSV option.
Select this option to generate a CSV file containing all the selected records' details (including emails, addresses, phone numbers, etc.).
Step 5: Utilize CSV Data
Once the CSV file is created, you can use the data for various purposes:
Upload the CSV to platforms like Facebook for creating custom audiences.
Import the data into other applications as needed.
Step 6: Confirmation
Confirm that the records have been successfully exported to your CRM or saved as a CSV file by checking the respective destination.