
Onboarding Completion
Time To Personalize Your Software, ...

Add Your Branding
You can learn how to add your Branding in this tutorial.
How To Add Your Branding
Objective
This is a step-by-step guide to setting up a custom logo and colors for your business account and login screen.
Step 1: Access White Label Settings
Navigate to the business account settings in your White Label section where you manage your domain.
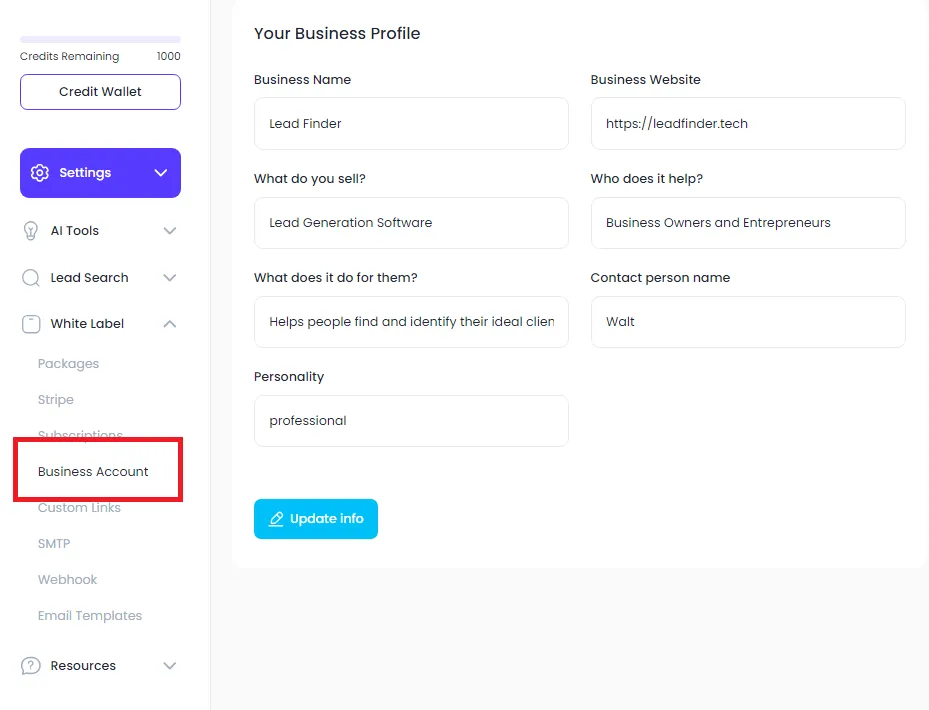
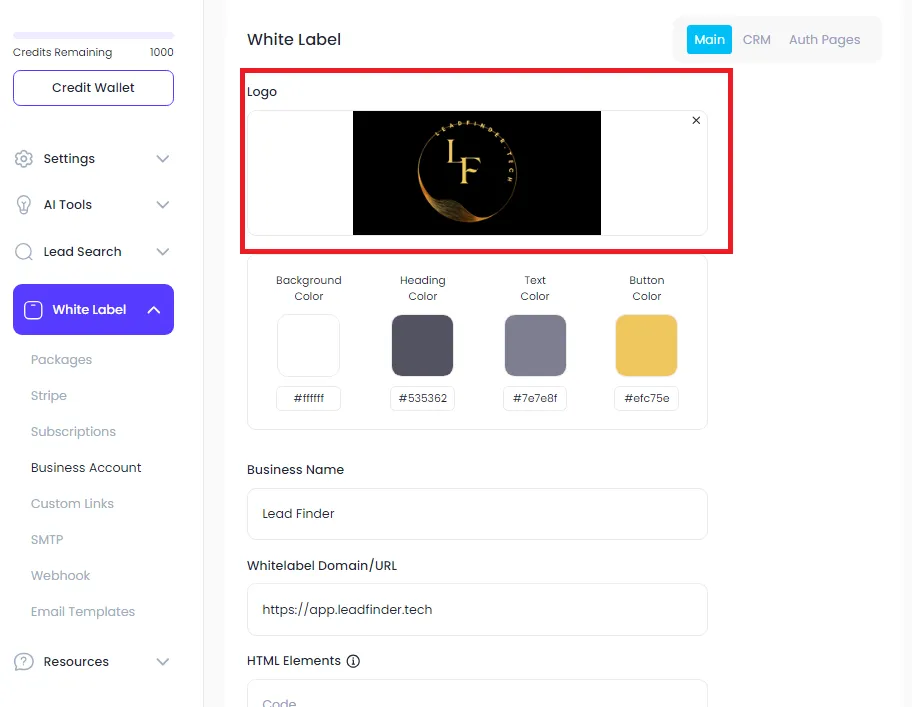
Step 2: Upload a Logo for Business Account
Upload a 300x150 pixel logo that will appear in the top left corner of the interface when your clients log in.
Select a logo from your files and upload it.
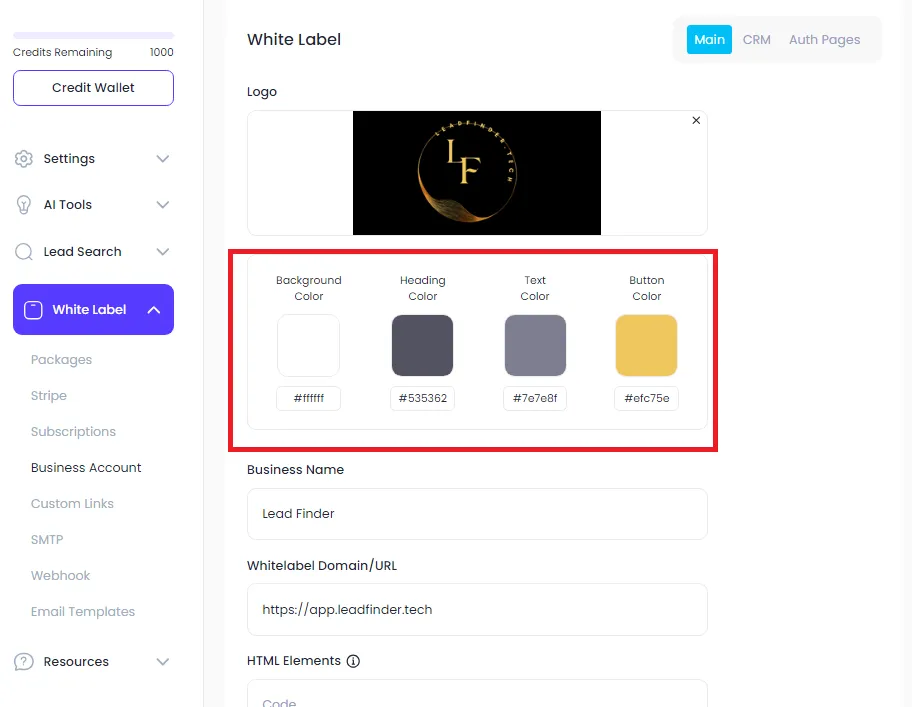
Step 3: Set Custom Colors for Branding
Choose custom background, heading, text, and button colors to match your branding.
Use the color picker or eyedropper to extract colors from your logo.
Step 4: Save Changes for Business Account
Once the logo and colors are set, click on Save to apply changes.
Preview the changes to ensure everything is set correctly.
Step 5: Upload Logo and Set Colors for Login Page
Navigate to the "or Pages" section to customize the login screen.
Upload the same or a different logo and adjust the background color to fit the design.
Step 6: Save and Preview Login Page
After finalizing the logo and colors for the login page, click Save.
Test the login page by navigating to your domain to ensure that the design matches your preferences.