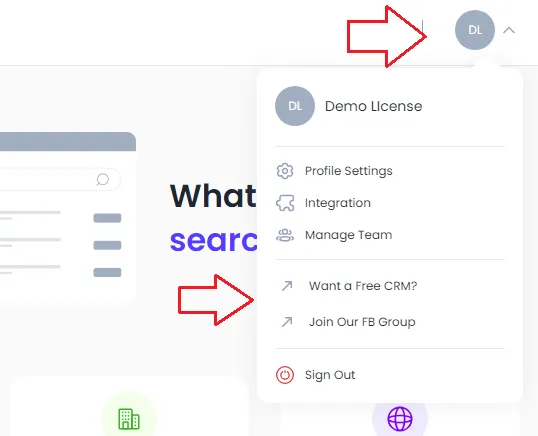
Onboarding Completion
You Can Add Any Link Here, ...

Custom Links
This tutorial teaches you how to create Custom Links.
How To Create Custom Links
Objective
This is a step-by-step guide for creating and managing custom links in your White Label Suite dashboard.
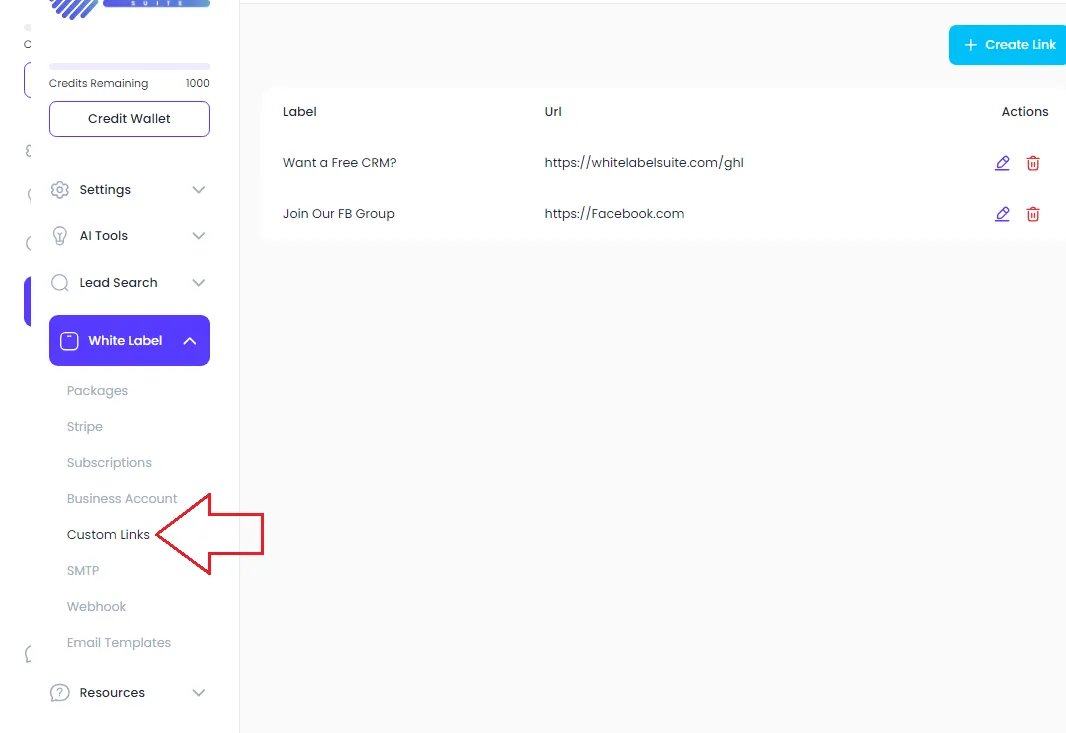
Step 1: Access Custom Links
Navigate to the White Label Suite section of your dashboard.
Click on Custom Links from the menu.
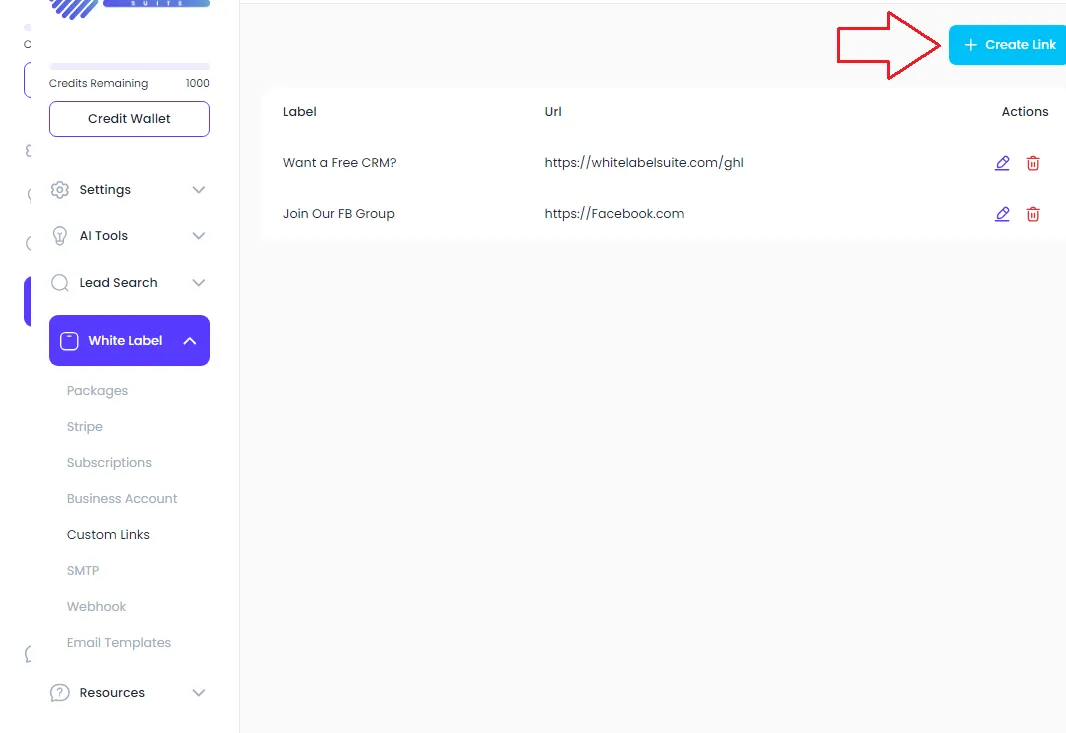
Step 2: Create a New Link
Click on Create a Link to add a new custom link.
Step 3: Enter Link Details
In the Label field, enter a descriptive name for the link (e.g., "Join Our Facebook Group").
In the URL field, enter the link address (e.g., the URL to your Facebook group).

Step 4: Add Multiple Links
Repeat the process to add additional links as needed.
You can add links to social media, support documents, or other resources.
Step 5: Save and Display Links
Ensure that all entered links are correct.
These custom links will now appear in your customers' dashboards under the links section, making them easily accessible.